Tampilkan postingan dengan label Kim's Before And After Party. Tampilkan semua postingan

Selasa, 30 November 2010

Kim's Before & After Party


I'm trying to decide, on this gray and rainy afternoon, whether I've had an "artful" day. Or I've just plain lost my mind.


I've always wanted to do something with this window that is between the kitchen and my garden room. But I never quite knew what.


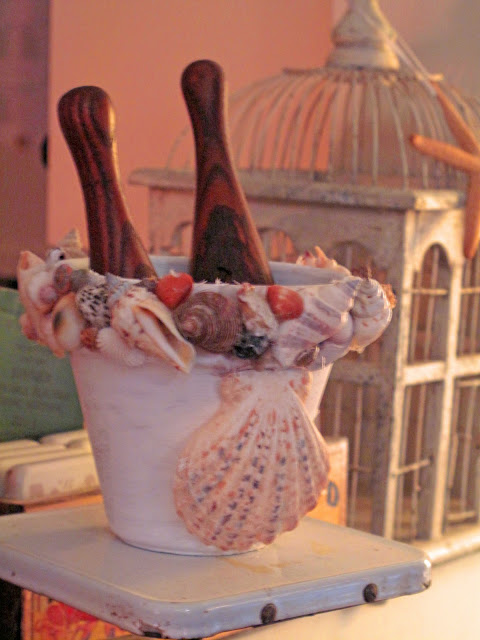
This is how I started out this morning (above.) I was fueled by coffee and ready to roll. Determined to have something new ready for Kim's debut party.


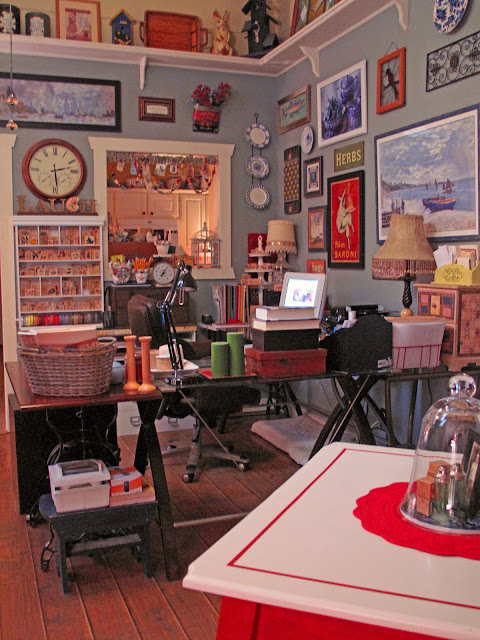
Except in this windowless room, you can't really see it very well. And I had to practically stand on my head (not a pretty picture) to get some photos of it.

So what on earth is it, you ask?
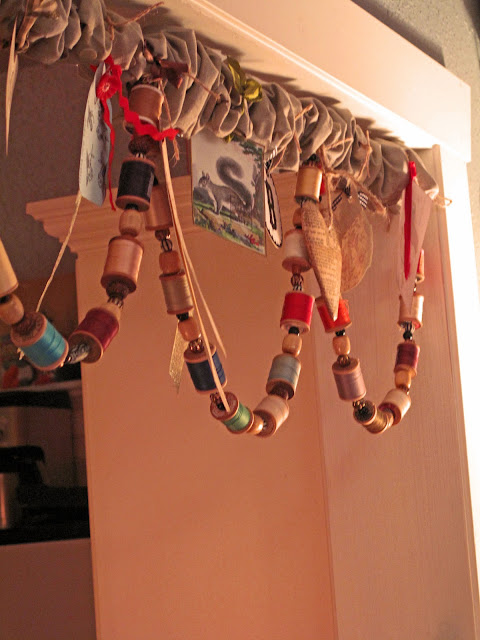
Why, it's a... it's a vintage spool and beaded...a...swag, I guess you'd call it. Yeah, I guess you could call it a swag.

I didn't actually mean for it to loop three times. But once I got started with my needle and spool of twine, I didn't quite know where to stop. I'd put a vintage spool on my needle, then three various-shaped beads. (I went through a phase about 12 years ago when I thought I wanted to make jewelry. And the result is a plastic box of supplies.)


Are you laughing yet? Well, it's okay. There's even a sign over my stamps that tells you to.

This is a case where I was trying to kill too many birds with one stone. And too many birds showed up. (Where do they get that expression? I'd never kill a bird.)


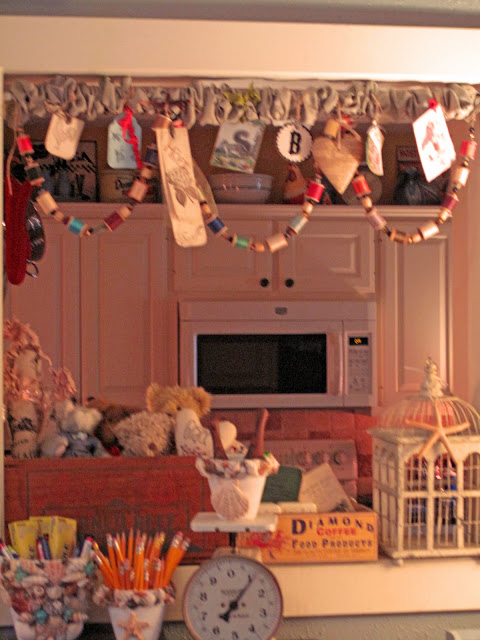
I've also wanted to do something with the various tags I've received from bloggers from time to time when I order on Etsy. And so the "swag" became a display for those tags.


And so what is said swag hanging from, you may be asking? Well, that's an extension curtain rod I found in the garage. And I put one of those fabric cord covers over it.


Oh, all right. I should have just stayed in bed today.


Or made something with my stamps.


You see, some days, despite your best intentions, inspiration is just not going to be there when you come knocking.


I'm sure it's happened to all of you at some point. Please tell me it has.


So...ahem...my before and after project for Kim of Savvy Southern Style's first B & A party, is something I worked on for much of the day. I don't really know what to call it.

Please go visit Kim's other participants. I sure hope they fared better than I did.

(Kim, I'll work on this Before & After stuff. I promise I will.)

Selasa, 09 November 2010

Before & After Decoupaged Tea Cart


This tea cart I found last spring at an antique store close-out for $30 was my project for week 2 of Kim's Before & After party.


Here is what it looked like before:


I thought about painting it. But I'm just a klutz with paint.(Obviously Charlie Ross has computer work to tend to. Probably Googling various lizard species.)

I'm taking a few photos outside, due to the darkness of my house. As you can see, Clyde wants in on the photo op action.


I didn't buy one thing for this project. All I used was Mod Podge and some scrapbook paper scraps I keep in a drawer for such things as this.


I didn't lay the paper pieces out first to plan where they'd go. I just put one piece down and then kept adding.


It only took about thirty minutes to get the top and bottom covered. I just took the scrap papers out of the drawer and slip-slapped them on.


In case you've never decoupaged before, you just take a cheap foam brush and apply a coat of Mod Podge to the back of whatever paper you're using. Then apply it to your surface and smooth down the paper with your fingertips. Wipe up any extra Mod Podge with a paper towel. (I always have one ready, as I tend to be a bit messy.)


It will originally "ripple" as it dries. Keep in mind that you will be going over it multiple times with Mod Podge to seal it.


I covered the flat surfaces of the cart (top and bottom) on Sunday afternoon. Then on Monday I started typing out my favorite quotes and words. After printing, I cut them out and started applying them to the table sides. I also added some letter stickers I had on hand.


And then I let it dry overnight.

Below I have it indoors, where I plan to use it. Which is at the end of my craft/computer desk. Where I can wheel it around while I'm working on craft projects.


This was a fun and simple project. Now I can view my favorite quotes every day. And utilize this cart as well as add to the decor in the room.

Minggu, 24 Oktober 2010

Fabric Collage Wreath


It's been a very interesting day. I started making this wreath late this morning. Then at noon I called my dentist and said I was having discomfort. I went in an hour later. (He's just a block away.)

I came home with a new temporary crown. And possibly might have to have a root canal. Won't know for a couple of days. Last month when I got my teeth cleaned, he reminded me that this cracked tooth would eventually have to be worked on.

Okay, got that out of the way. I might not make much sense. I missed lunch in all the hoopla.

I'm linking to Kim's Before & After Party.


I bought this wreath at Hobby Lobby half off a few weeks ago. Which made it less than $2.


I used what I had. Being a quilter, I had muslin in various sized pieces. I ripped the muslin in a width of about four inches.

I didn't even take the plastic off the wreath. Figured it would be less messy as I worked. I just used a glue stick, and started wrapping. When I put a piece down, I'd add a bit of glue and then pin it down till it dried, so I could continue to get pieces ready to wrap.

I'd gotten this far when I left for the dentist. The muslin part was complete.


I really had no idea what I was going to do. I just had an idea of the look I was going for. I got out my stash of neutral bits and bobs.

At this point I'm home with a very numb mouth, starved but can't eat for two hours, and ready to roll. So I just got things out of this box and started wrapping it this way and that until I was pleased with the look. I hot-glued the rest of it on.

Last week at Hobby Lobby they had wedding materials half off. So I picked up some flowers and such, knowing I'd find a use for it. Didn't realize it would be this soon however.

After the flowers were attached, I still wasn't completely happy with the look. So I got my jewelry box out. Remember I told you I went through a phase about 13 years ago when I thought I'd be interested in making jewelry? And here the box still sat.

So after adding some buttons, I decided to add pretty straight pins. Then I added some beads to the buttons to make it look unified.


But I still wanted a little more bling. So I stuck more beads from my box along the pins and stacked the beads. Then just pushed the pins into the wreath. Simple, simple!


You know that feeling when your mouth is numb but your chin itches? Well, that's what I'm going through now. When am I going to be able to eat without missing my mouth, I'm wondering?

Surely soon! It's after 4 p.m. at this point. I'm so hungry I could eat cardboard. Well, maybe not cardboard.

Please go over and visit Kim for more participants.