I haven't decorated any of my trees yet. But I've finished making my winged birds. So I thought I'd show you how I made them.
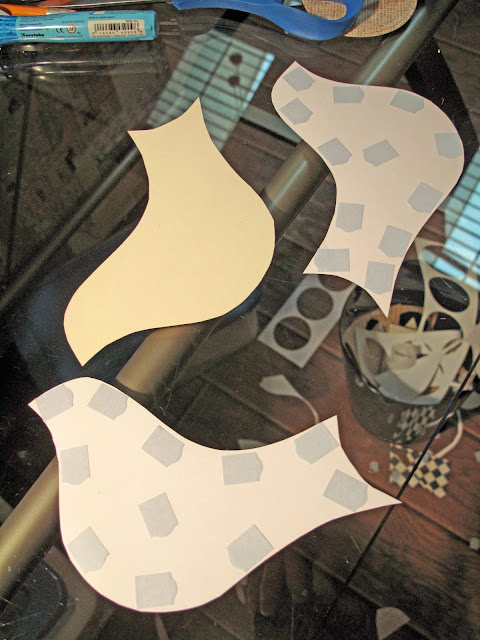
I drew a simple bird shape and made a template. If I could get my printer scanner to work, I'd have given you the template I drew. But it's very rudimentary and simple.
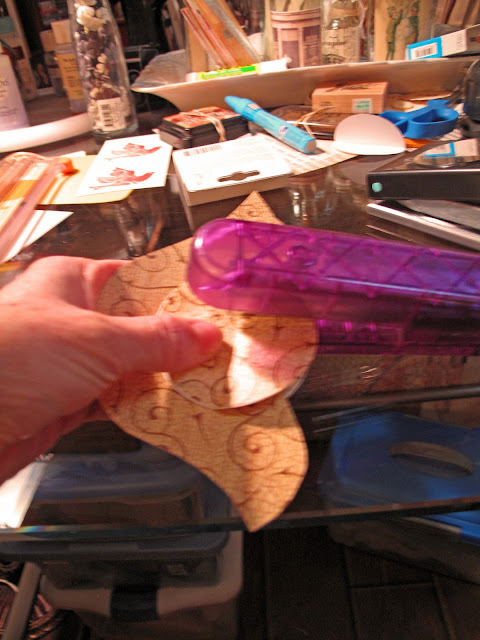
Then I got out some cardstock to use as the birds shape for strength. Then choose patterned scrapbook paper to cover your shape with. Draw your template on the front of the scrapbook paper. Using a pencil, go around the bird shape first on one side, then turn the shape over for the other. You will have two bird shapes going in opposite directions. Cut out your bird shapes.
Then, using the glue of your choice (I used photo splits), glue patterned paper bird shapes first to one side of the bird, then the other. It's hard to get them to fit the shape perfectly. That's okay. You can take your scissors and shape it up after you glue it on so that none of the cardstock shows.
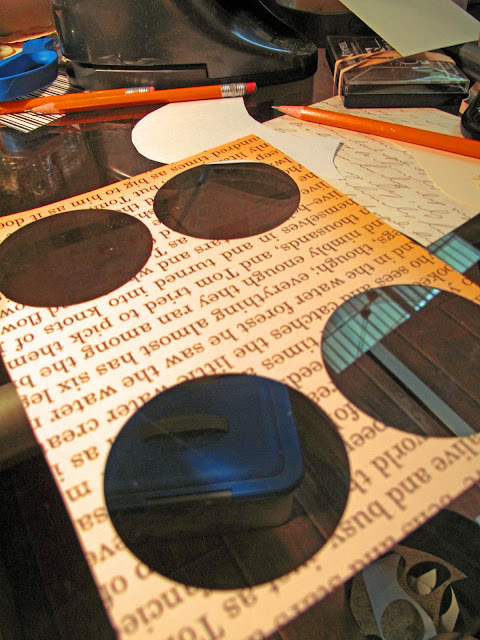
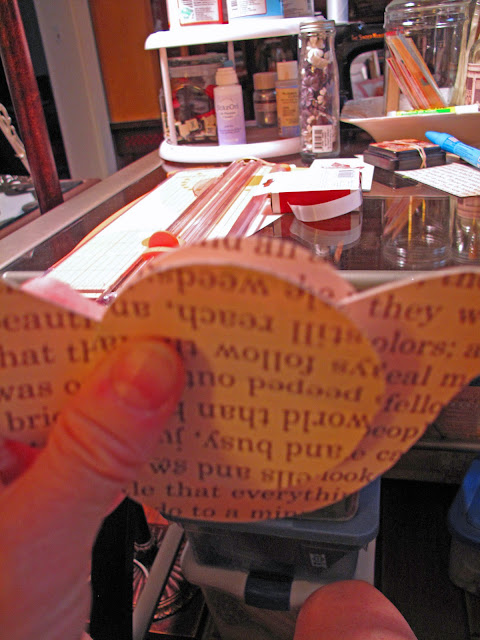
I used a circle punch that is 2 1/2 inches in diameter to make the wings. I had not intended to make wings for the birds. But then I got the idea to try this, and liked the effect. If you don't have a circle punch, you can draw around a circle shape from something around the house. Make your template with cardstock, as with the bird shape. My actual bird shape ended up being six inches from tip to tip, to give you an idea of how big to draw your bird.
Cut out four circles. You will be making two wings, and gluing them to the front and the back of the circle shape.
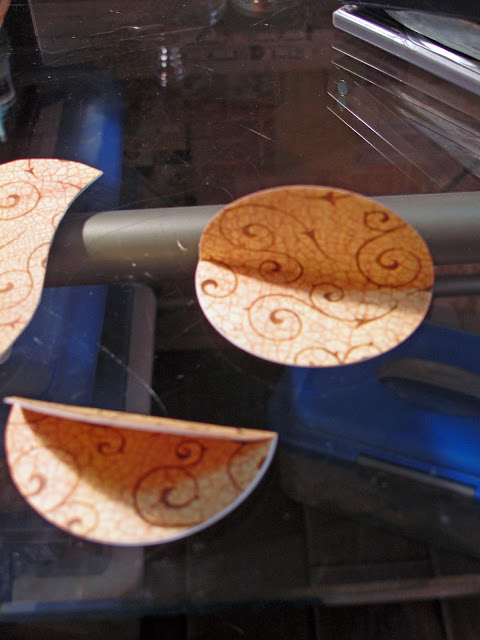
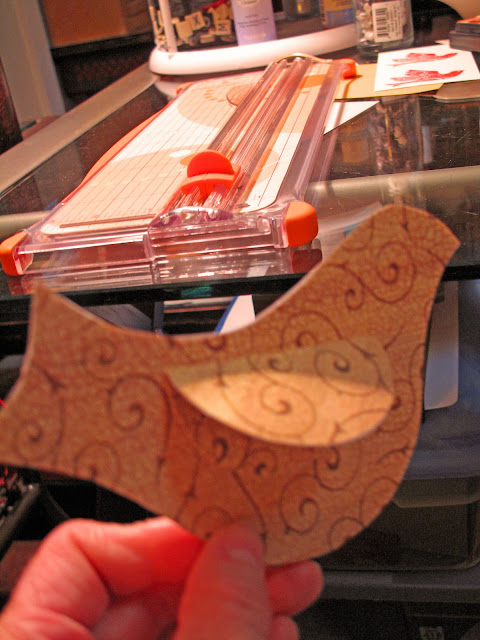
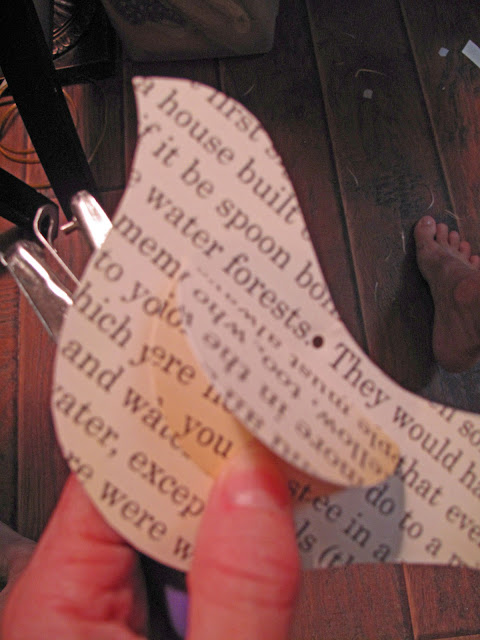
As with the bird, glue your patterned paper circles to both sides of your circle cardstock. Then fold in half.
These photos aren't of the best quality, I will warn you. Because I had to hold the camera with one hand and the bird with the other for display purposes, to show all dimensions.
Then position a folded circle on each side of your bird. You can match them up by pinching them together on either side.
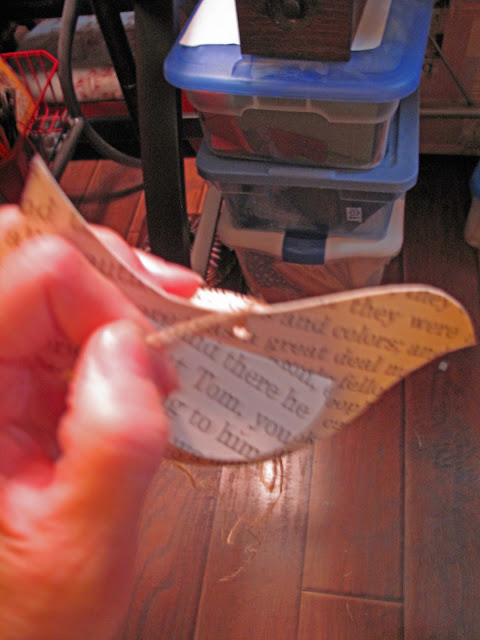
Using a stapler, staple just under the fold of the wing onto the bird, first at one end and then the other. For a total of two staples. Since it will staple through to both sides, you don't need to turn it over for the other side.
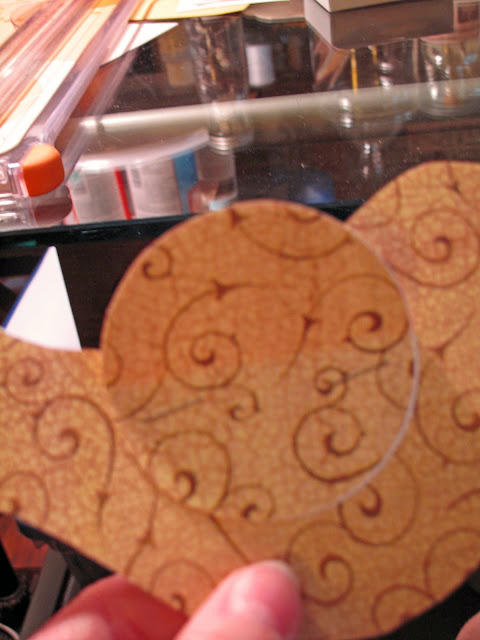
As you can see, I'm using a variety of patterned scrapbook paper. And I didn't think to take a photo during each one. So you will see differently patterned birds in various stages of completion.
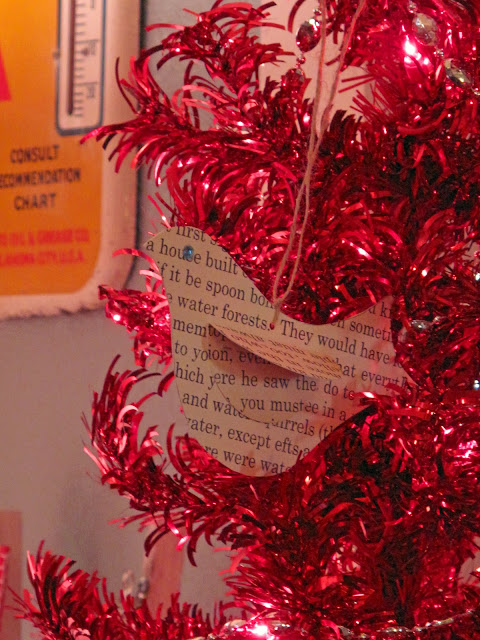
Your bird ornament should look like this, below. Sorry for the blurriness. Having to hold it and the camera, you know.
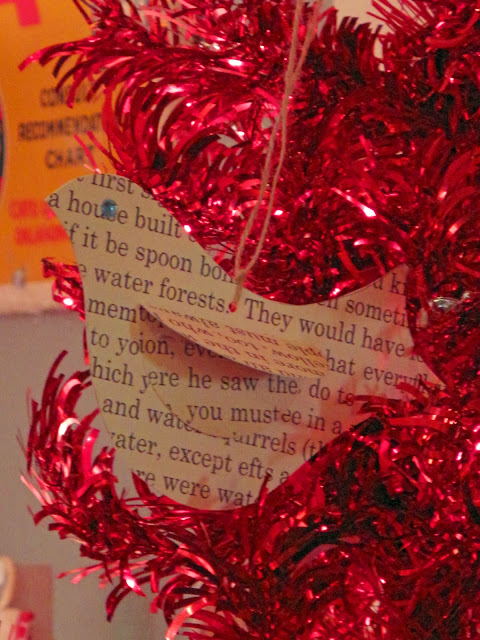
Then I took a hole punch (I happen to have different sizes, and used the smaller one), and made a hole for hanging the bird ornament on the tree.

I used jute for this ornament to see how it was going to look.
I may use lace or ribbon for the others. I tied a knot just over the top of the bird to hold it in place. Then another knot at the end of the hanger where I wanted it to hang on the tree.
Sorry also for the mess. I had paper all over the pets and underneath my feet. When you have glass desks, everything shows!
I had some of those sticky rhinestone embellishments in my stash I'd picked up in the scrapbooking section of Hobby Lobby. I used these for eyes, one on each side of the bird's head.
I used gold for some of the birds' eyes, light blue for the others. Just what I had on hand.
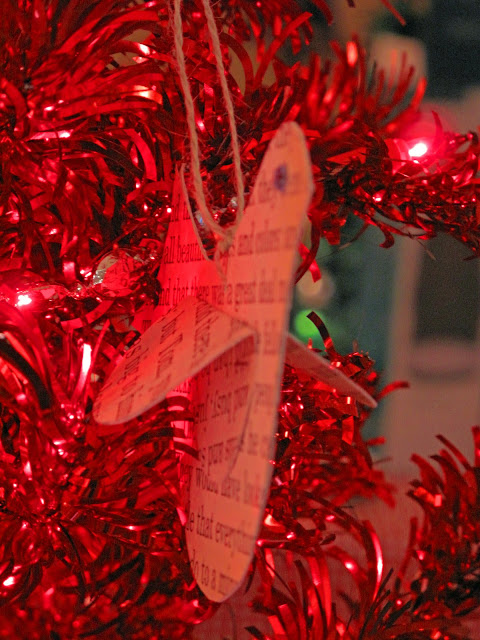
Now I have a dimensional bird. So should you desire birds to hang on your tree, this is my version.
When I have all the ornaments finished, I will show the decorated trees about my house. I'm still busy with all sorts of ideas for ornaments.

There you have it. Happy decorating!
Tidak ada komentar:
Posting Komentar