
First off, create a test blog if you don't already have one. You can practice with a 3-column blog on that blog. That is what I did. Then when I had it where I was pleased with it, I made the same changes to my actual blog. You might take notes as you go when you make a change you really like, so you'll be able to switch things quickly.
In case you've never made a test blog, just go to your Dashboard and Create A New Blog. As you can see, I just named mine Cozy Little House 2. Name it whatever, because you're the only one who's going to see it. You can click and hide all but your main blog on your Dashboard. Add your banner here so you will be seeing what you see on your real blog.

Okay, on your test blog, go to Template Designer, as seen above.
For my template, I chose Simple by Josh Peterson. The default color is blue. On my blog, I chose yellow for the outside of my blog on either side. You can choose any color or none at all.

To get the color bar (that looks like a rainbow) to come up for you to choose a color from, click the arrow you see below. The gradients of colors will then show up. You will see that before you click this, the rainbow of colors is not there.

If you chose a template or colors, click Apply To Blog. Now you're ready for the 3-column choices. Click Body Layout.
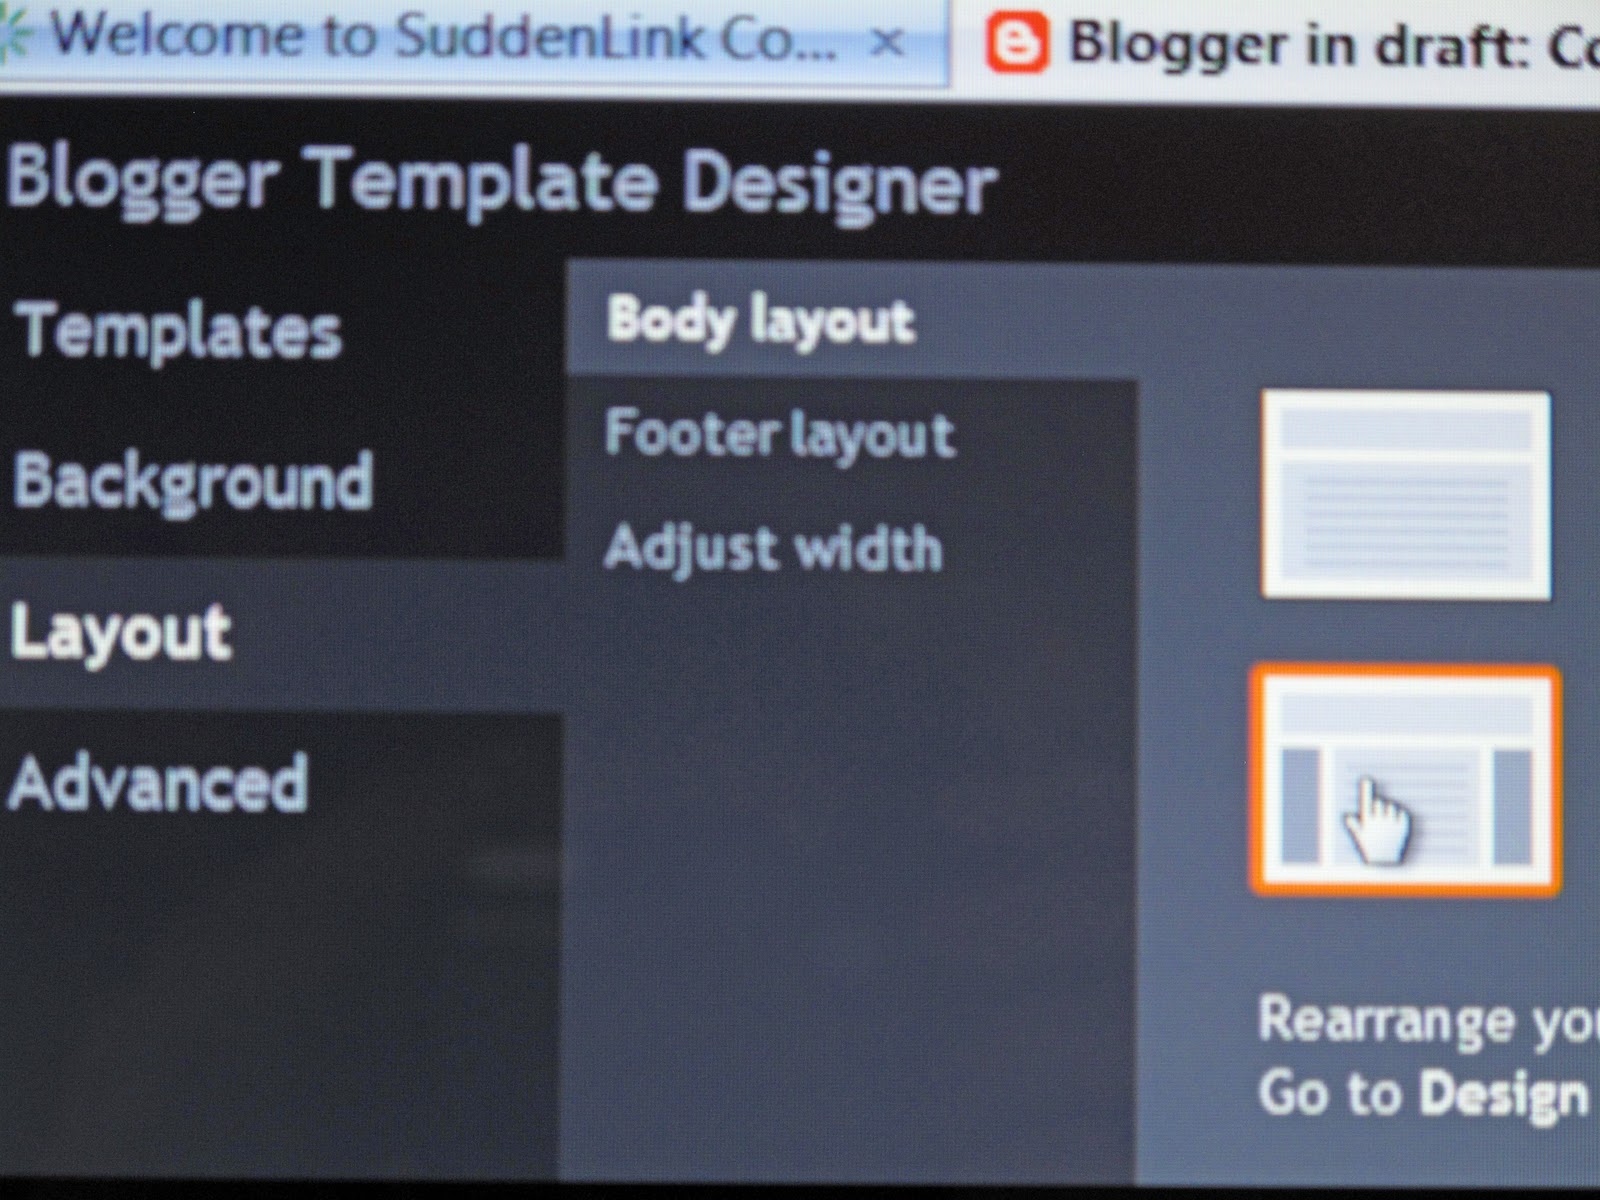
There are also more than one way to go with 3-columns. The one I chose is the one the arrow points to above.
After each choice, remember to click Apply To Blog. Remember you're on your test blog. So don't panic.

The step below, in Layout, is where you will choose how wide you want the body of your blog to be. And subsequently, how wide you want each sidebar to be.

Just so you don't have to figure this out the hard way, as I did, add some things to your test blog sidebars once you've switched to 3-column. Otherwise you won't know how the things you like on your sidebars are going to fit. This will save you much time!
I have two different sized sidebars. I made my left sidebar a little wider to accommodate my blog buttons without any of it sticking out into the blogging space. Somehow I couldn't get it to work with my existing banner otherwise.
Now remember you want to view the blog from time to time. Sometimes I would make changes, but want to see what it would look like outside the Designer format. So I would go back and forth. To do this, click Apply To Blog and then click View Blog.
So say you want to try out what I have, my left sidebar is 220 px. My right sidebar is 190 px. And the size of my entire blog is 930. I would normally have wanted them even. But I was tired of resizing my banner. (My banner is 850 pixels x 216 pixels. I made mine smaller after I read that people want to see some of your blog post when they first hit your blog, instead of having to scroll down past a huge banner. So I did that. Who knows?)
In case you forget the dimensions of your banner (in my case called menopausal lapses of memory), here's how you can check your banner size or anyone's banner you see that you like. Go to the banner and right-click. Then click View Image Info. It will then show you the dimensions, as well as other info. A handy little hint!)
I have lots of photos of my home and such in my sidebars. I had to go resize them to 150 pixels to get them to fit the way I wanted. I did that in Adobe Photoshop, then took them to Photoscape (free download) to frame them in black. (I just happen to like the way they look framed in black because to me they stand out more.)
(I will do a separate tutorial for the banner if there is enough interest in it.)
As you drag the arrow, it will change sizes by 10 pixels.

When you are dragging those arrows, remember to let go from time to time and scroll down your blog to see how things are fitting.
Of course, as I said, you will have to add things to your sidebars on this test blog to have them show up. I suggest you add the widest Gadgets you have on your sidebar, and then you know the smaller Gadgets will fit.
Remember to click Apply To Blog between each step. You can always go back and make changes. Believe me, I did this a lot until I was satisfied with it!
Now, just in case you decide you want some accents, like the dark yellow line that separates my 3 columns, you will click on Accents, as seen below.

I chose the same dark yellow as my outer background. It is called the Separator Line Color.
I decided I wanted the same color automatically framing my photos. So if you look right above Accents, you see Images. You can click the color you want framing your photos there. Once you do this, it will happen automatically whenever you add photos or images.
Remember to click Apply To Blog between changes. And to click View Blog after you do this to see what it will look like.
If you have any questions, email and I will help you. If you print this post off, I don't think you'll have too much trouble.

Tidak ada komentar:
Posting Komentar